There are several ways to insert a screenshot into a document and with Office 2010 there are two more.
For a long time, a quick and free way to get a screen snapshot has been to use the Windows Print Screen capability. The PrtSc key copies to the clipboard an image of all the monitors attached to the computer. One can then crop the image as desired. The ALT+PrtSc key combination puts in the clipboard an image of the active window. While these have been quick ways of getting a screen shot they are not very sophisticated. Missing is the ability to capture the cursor. Also, depending on the program, pressing the ALT key can change the displayed information (for example, in Office 2007 ALT is the start of a keyboard sequence to selecting a menu item). Consequently, it might not be possible to capture the screen if pressing a key alters it.
There are several specialized program that include capabilities beyond basic screen or window capture. For a long time, I used HyperSnap until I convinced myself that the free Windows features were good enough for me. I liked HyperSnap’s ability to take a snapshot after a customizable delay and the fact that it could capture the cursor.
For some reason, Microsoft decided to devote resources to implementing a screenshot capability into Office 2010 (at least the programs I checked – Excel, PowerPoint, and Word). It isn’t a significant improvement over the Windows approach but it’s now natively available to Office 2010 programs.
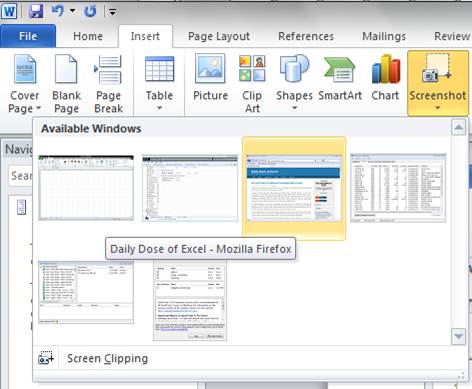
Use the Insert tab | Illustrations group | Screenshot button to bring up a gallery of thumbnails of all of the non-minimized windows. Note that for some reason this excludes the current window. Hover over a thumbnail to see the name of the program (the example below shows the dailydoseofexcel.com webpage in the Firefox web browser).
Click a thumbnail to insert an image of the corresponding window.

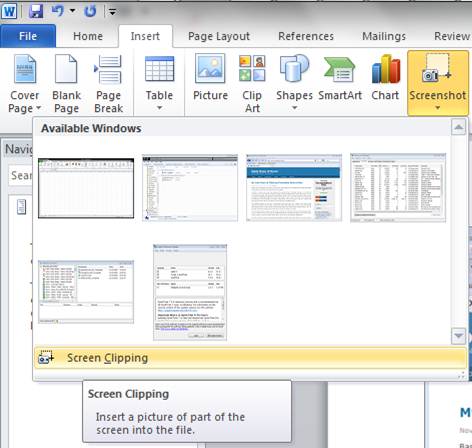
Instead of getting a snapshot of a specific window, one can get a snapshot of an arbitrary rectangle of the screen by selecting the the ‘Screen Clipping’ option at the bottom of the Insert | Illustrations | Screenshot gallery.
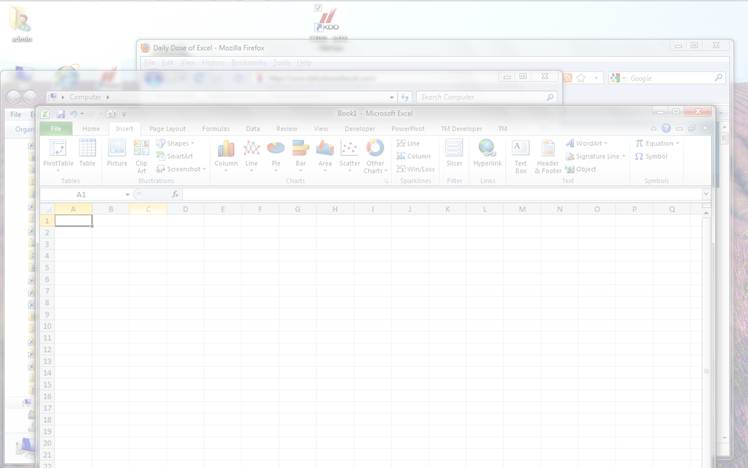
After selecting ‘Screen Clipping’ the Office program will move out of the way leaving the rest of the screen visible – and faded. The cursor will become a large plus sign (+).
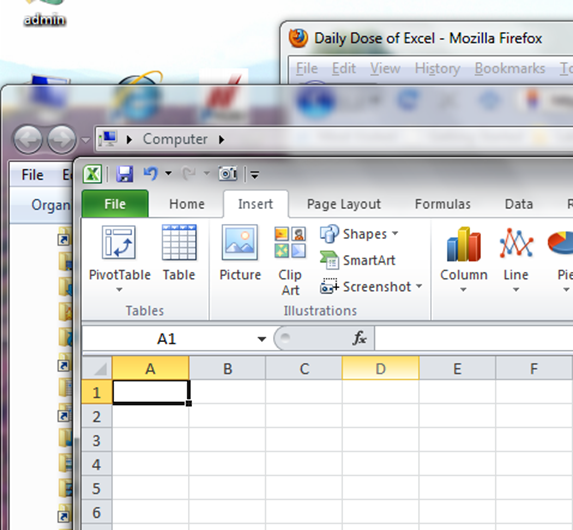
Click and drag the mouse to define the clipping rectangle. The result will be an image of that screen region.
Prior to Office 2010, if one wanted to save the Windows created snapshot in a separate file, one had to use an image editor of some sort or use PowerPoint. In PowerPoint it was possible to select an image then use File |Save As… (or right-click the image and select Save as Picture…) to save just the image by itself.
Now, with Office 2010, the right-click | Save as Picture… capability is also available in Word 2010. But, for some reason it remains absent from Excel 2010.